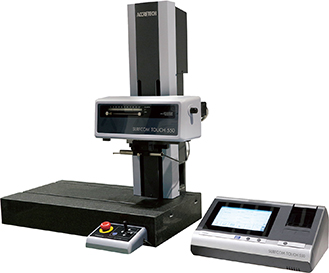
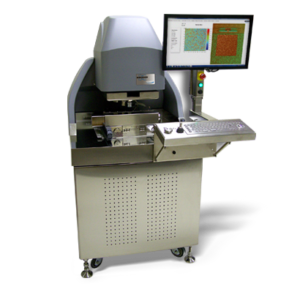
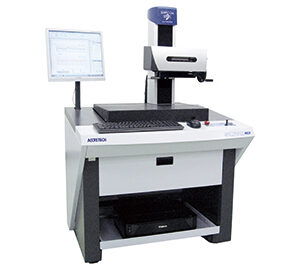
SURFCOM TOUCH 550
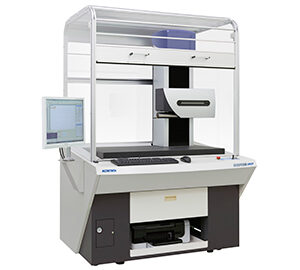
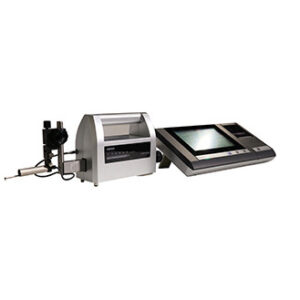
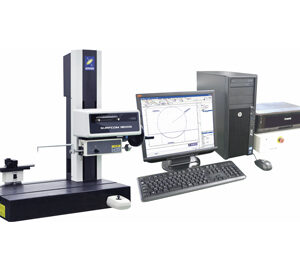
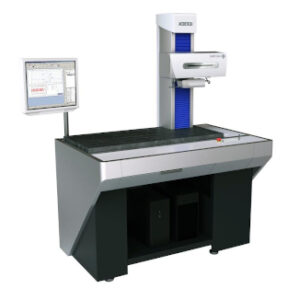
High-end model in the SURFOM TOUCH series with an electric column offering high accuracy and size variation. Equipped with a high performing pick-up having high resolution and wide range. It offers high flexibility where granite base size, column height, and X-axis drive range can be selected depending on needs.
- Description
- Additional information
Description
HIGHLIGHTS
Semi-automatic surface measuring device with intuitive user interface
High-precision surface measuring system for the measuring room, with automatically controlled Z and X travel axis.
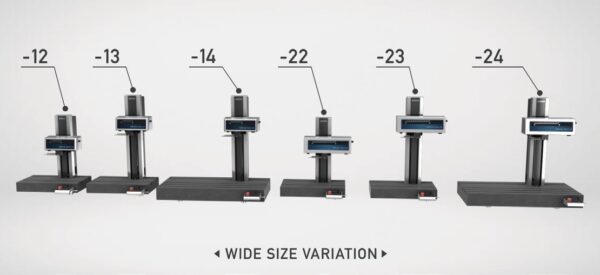
Modular design with different sizes available for the Z pillar, granite and feed unit
| Measurement range: | |
| – Z direction: | ±500 μm |
| – X direction: | |
| + Model SURFCOM TOUCH 550 -11,-12,-13,-14: | 100 mm |
| + Model SURFCOM TOUCH 550 -21, -22, -23,-24: | 200mm |
| Tracing driver | |
| – Drive distance: | |
| + Model SURFCOM TOUCH 550 -11,-12,-13,-14: | 100 mm |
| + Model SURFCOM TOUCH 550 -21, -22, -23,-24: | 200mm |
| – Straightness accuracy: | (0.05 + 1.5L/1000) μm (L: measurement length (mm)) |
| – Measurement Speed: | 0.03, 0.06, 0.15, 0.3, 0.6, 1.5, 3, 6 / 0.05, 0.1, 0.2, 0.5, 1, 2, 5 mm/s (switching) |
| Pick-up | |
| – Sensing type: | Differential inductance |
| – Measurement method: | Skidless/Skid (optional) |
| – Z direction resolution: | 0.0001 μm/±40 μm, 0.00125 μm/±500 μm |
| Measurement stand | |
| – Column Drive distance: | |
| + Model SURFCOM TOUCH 550 -11,-12: | 250 mm |
| + Model SURFCOM TOUCH 550 -13,-14: | 450 mm |
| + Model SURFCOM TOUCH 550- 21,-22: | 250 mm |
| + Model SURFCOM TOUCH 550-23,-24: | 450 mm |
| – Column Moving speed: | |
| + Model SURFCOM TOUCH 550 -11,-21: | Manual |
| + Model SURFCOM TOUCH 550 -12,-13,-14,-22,-23,-24: | to 3 mm/s (when operating the amplifier touch panel), to 10 mm/s (when using the joystick) |
| Analysis item | |
| – Calculation standards: | Comply with JIS2013/2001, JIS1994, JIS1982, ISO1997/2009, ISO13565, DIN1990, ASME2002/2009, ASME1995, CNOMO |
| – Profile curve: | Pa, Pq, Pp, Pv, Pc, PSm, PΔq, PPc, Psk, Pku, Pt, Pmr(c), Pmr, Pδc, Rz82, TILTA, AVH, Hmax, Hmin, AREA, Rmax, Rz, Sm, Δa, Δq, λa, λq, Lr, Rsk, Rku, Rk, Rpk, Rvk, Mr1, Mr2, Vo, K, tp, tp2, Hp |
| – Roughness curve: | Profile curve, roughness curve, ISO13565 special roughness curve, roughness motif curve, waviness motif curve, upper envelope waviness curve |
| Filter | |
| – Filter type: | Gaussian, 2RC (phase compensation), 2RC (non-phase compensation) |
| Amplifier | |
| – Display: | 7-inch colour liquid crystal touch panel |
| – Data output: | USB connectors for USB memory : x 2 (model without printer), x 1 (model with printer), Micro USB connector for USB communication x 1 |
| – Language: | Japanese, English, Chinese (Traditional Chinese/Simplified Chinese), Korean, Thai, Malay, Vietnamese, Indonesian, German, French, Italian, Czech, Polish, Hungarian, Turkish, Swedish, Dutch, Spanish, Portuguese |
| Power supply | |
| – Power supply: | AC100 to 240 V±10%, 50/60 Hz, single phase, D-type grounding |
Extended Z-axis measurement range from 800 to 1,000 μm (25% increase)
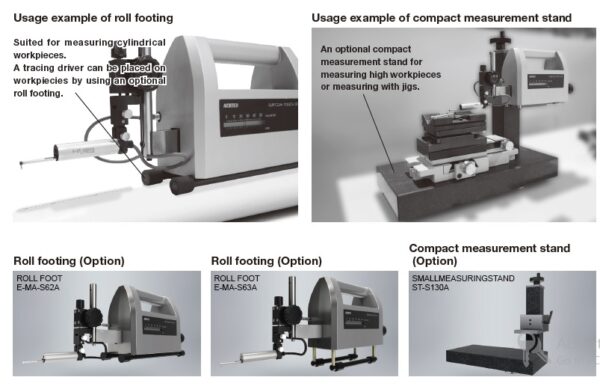
Size variations for various types of workpieces
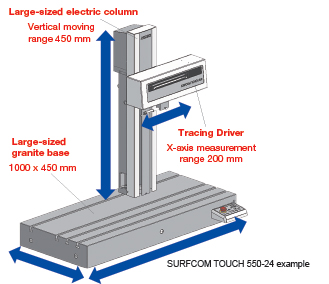
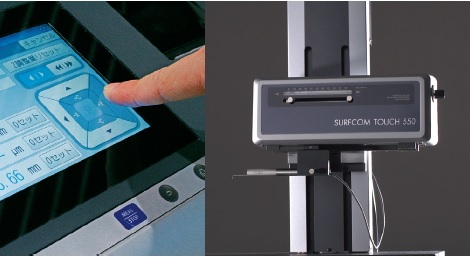
Drive axes operable from amplifier

| – Power supply: | AC100 to 240 V ±10%, 50/60 Hz, single phase |
| – Power consumption: | Maximum 80VA |
The large Z measuring range of the probe system enables flat as well as oblique and round surfaces to be measured and saves considerable time and effort to alignment of the workpieces.
Deep measuring positions can be easily reached and even the smallest holes measured thanks to a wide range of compatible probe arms. These can be changed quickly and easily with a probe-arm spring clamp, without the need for tools. An additional measuring stand can be used for tall workpieces
Updating…
Updating…
Additional information
| Manufacturer | Accretech |
|---|---|
| Origin | Japan |
| Type | Semiautomatic |

